🗓️ 30042024 1419
Goal is to export blender model to 3JS
Steps:
- Optimise
- Unwrap
- Bake
Optimisations
Removing hidden faces
- Basically, just remove additional faces that cannot be seen by the scene
- Consider how the camera will interact with the scene
Switch between wireframe and solid to clearly see which faces are not needed
Though it isn't mandatory, if some rocks are overflowing into the ground, you can fix that with the bissect tool we used in the previous lesson. Select all the faces in Edit Mode, press F3 and search for bissect. Then slice the overflowing parts of the rocks you want to cut out.
Fixing faces orientation
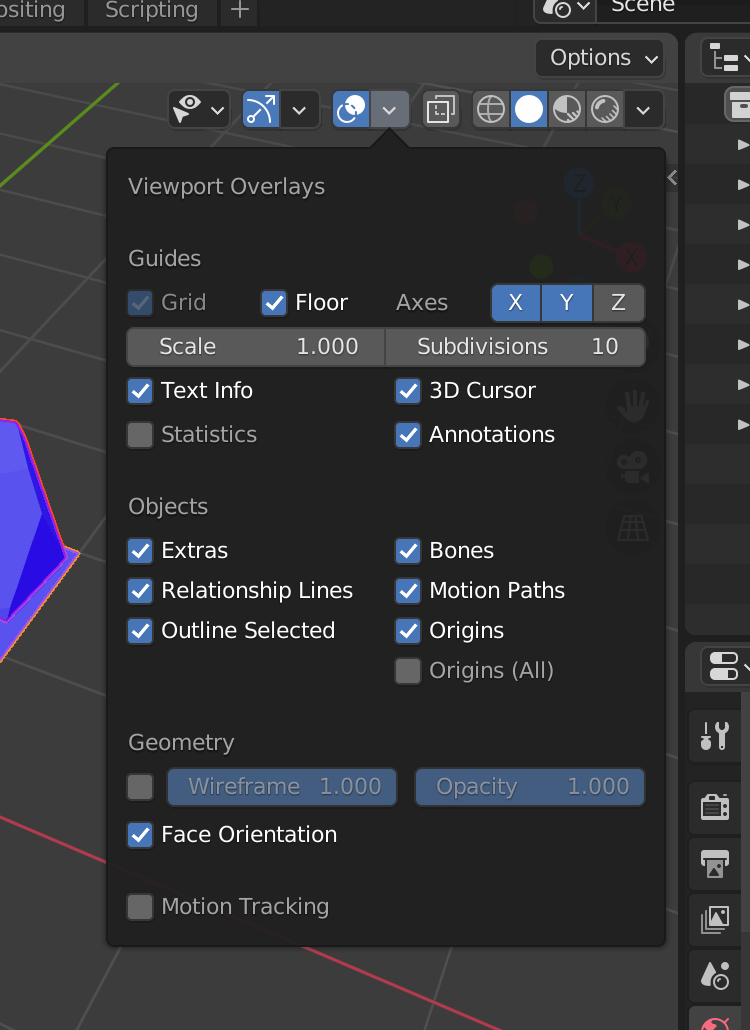
- Faces in blender have a
frontand aback - Blender faces need to all face the correct side (🔵)
Might cause baking issues otherwise
- Faces can be affected by
extrudes/insetsother blender operations
To fix:
-

-
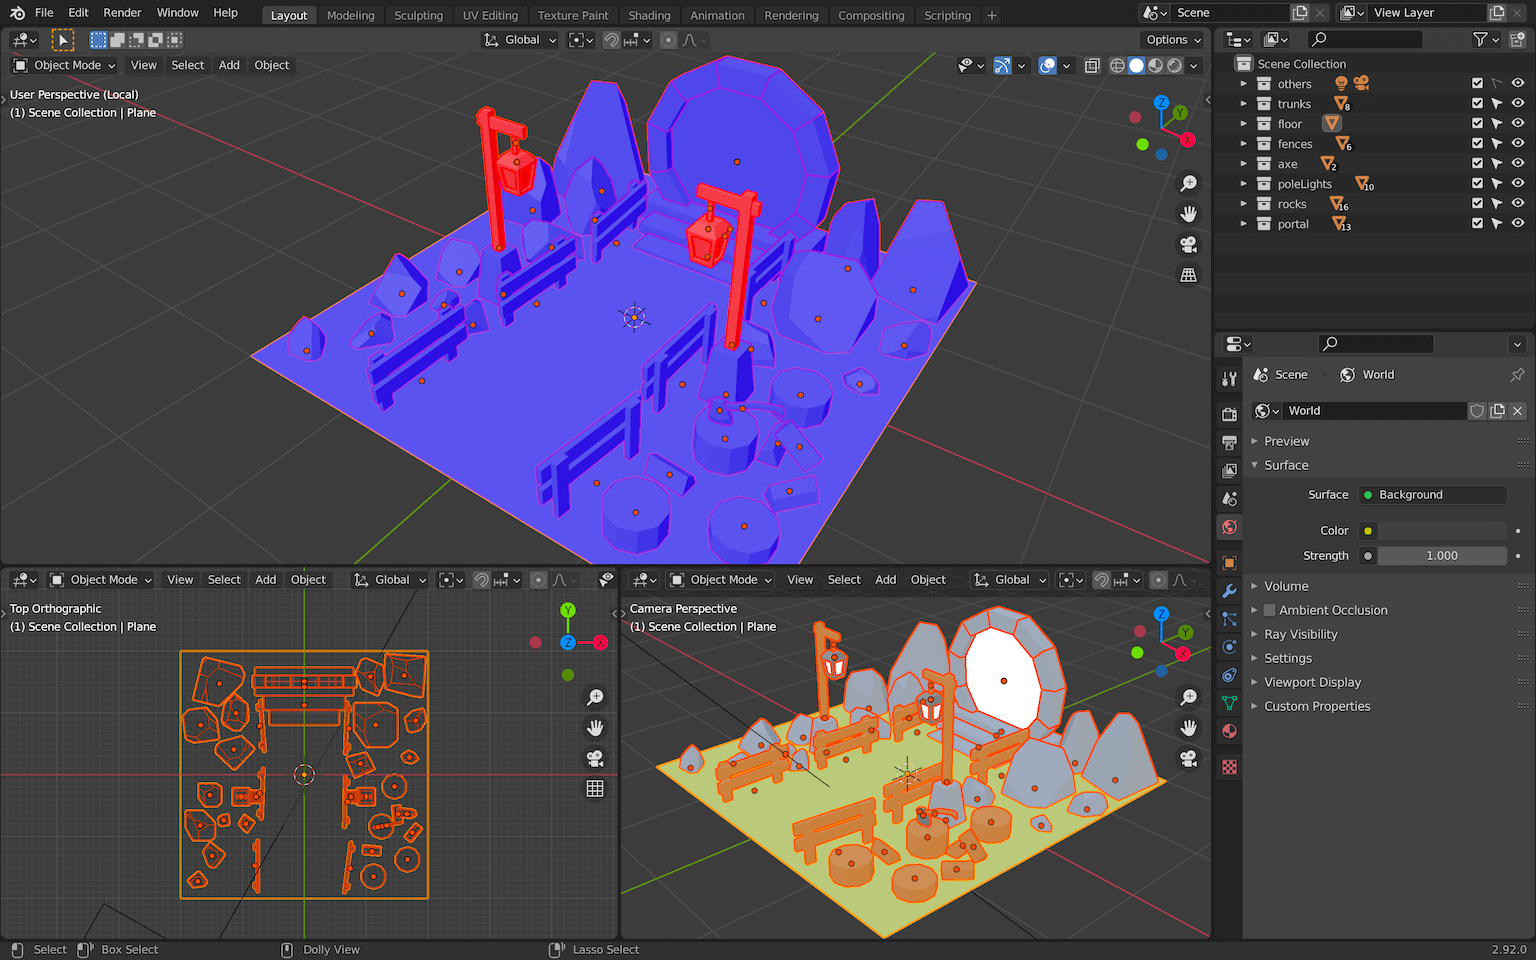
Fix all red faces

-
To fix:
- Select object
Edit Mode- Select faces
F3> searchflip>Mesh > Normals > Flip
If some islands look unusually black during baking, the normals might be flipped
Normalize scales
Background
- Objects scaled in
Edit Mode> geometry scaled, not object - Objects scaled in
Object Mode> object scaled, not geometry - For automatic UV unwrapping, blender takes into account geometry size
- This might cause the objects to take up less / more space
Therefore, need to normalise scales
In Object Mode, select all the objects with A , press CTRL + A to open the Apply menu and choose Scale:

You can't see a difference, but all of the object scales have been applied to their geometries instead. This way, all our objects now have a scale of 1.
We are done with the optimization and we can start to UV unwrap our scene.
Don't forget to save.
UV unwrapping
Goal: unfold all the geometry composing our scene into
UV Editor's square
Notes
-
Exclude Emission Materials (Put them in a separate collection)
- Make them unselectable (so that they are not included in baking)

- Mark seams > Unwrap
- Use
Smart UV Projectfor rocks- Increase the Islands Margin to something like
0.025to make some space between the islands.
- Increase the Islands Margin to something like
Reorganising
UV Editor> checkDisplay Stretchand change it toArea:

- Scale the parts until everything has a similar colour

Tips
- Start by placing the groups in a rough square shape without looking at map limits
- Resize the whole thing to make it fit in the UV map
- Keep some space between the islands
- You can scale some islands up to have a better quality for them in the final texture
- Good practice to do that for big surface or surfaces that the camera can see from up close
- In our case, we can make the floor a little bit bigger
- Leave some room in case you need to add some objects in future
Baking
Creating the texture
- Go to
UVEditor + New
Idk what he means but I just leave it here
This isn't that important but, in Three.js, when looking at the model from specific angles, the mip mapping might let that color appear on edges of the geometry. A white tint will look like a reflection and users won't notice it.
Intermediate file so that the final output texture JPEG can have better colours
- Save as
Radiance HDR
Preparing the materials
For each material, need to specify output image
Shader Editor>- Check
Use Nodes Shift + A>Texture>Image Texture- Specify image
Make sure that this texture node is selected (it should have a white outline)
If you have multiple texture nodes in your shader, the active one will be the one used for baking.
Also, we leave the Color Space as linear
This might sound strange because we learned that sRGB enables better color management, but don't forget that this is still an HDR texture and we are not going to use it directly in the WebGL

Render Engine settings
- Set
Render EnginetoCycles Bake Type> CombinedView From> Active CameraMargin- Size:
16px- Controls how much baking will overflow (can adjust if there are overlaps)
- Type:
Extend
- Size:
Clear Image> Leave it unchecked (as the option suggest, will clear the image specified if checked)
Sampling
Sampling > Rendersection.
- Set the Samples to
128/256 - Deactivate the
Denoise(it will be done later, not used here because there are apparently some visual artefacts in some blender versions)
Exporting the image
The color issue
A render in blender is toned by a color manager named Filmic
You can find it at the bottom of the Render Properties tab in the Color Management section:

If you want to test a render without Filmic, change the View Transform to Standard and do a render with F12:

As you can see, we have the same ugly colors with high contrast.
This tells us that, when baking in Blender, we are losing Filmic.
The noise issue
Another problem is the visual noise. When you do a render and if you have checked the denoise parameter, you can see a smooth render without noise.
When baking, the noise is back:

As with Filmic, Blender seems to ignore the denoise parameter.
The image type issue
Finally, we want to export a compressed image that we can use in Three.js. We want it to be light and because we don't need transparency, we can use JPEG. Also, we want to apply the sRGB encoding to improve the color quality.
But currently, all we have is our fancy HDR image.
The solution
All of these problems can be fixed with the Blender Compositor.
The Compositor can be accessed within an area. Change one of the current areas (or create a new one) and choose Compositor:

The compositor uses nodes and, by default, your should have a Render Layers node and a Composite node:

To tell Blender to use those nodes when rendering, make sure to check the Use Nodes on top of the Compositor area:

The idea, here, is to create some nodes that will take our texture, apply a denoise on it and then apply Filmic. Then we output that texture to the render by sending it to the Composite node.
Start by creating an Image node with SHIFT + A:

Change the image to our baked, using the dropdown menu:

Normally, you should see your texture in the node preview, but this feature sometimes has bugs. Save everything and reopen it if you want to see the preview:

Now create a Denoise node to the right of the Image node:

Keep the default parameters:

Link the Image output of the Image node to the Image input of the Denoise node:

Link this Denoise output to the Composite input:

But where is Filmic? you might ask.
Filmic will automatically be applied as long as you have set it in the parameters of the render:

Doing the compositing is like doing a render. But we don't want to render the scene, we want to render our image through the nodes we created. To deactivate the default render of the scene, select the Render Layers and press M to "mute" it.
It should appear gray:

If you want to do a classic render again, you'll have to mute the two nodes we've made, unmute the Render Layers and link this last one to the Composite.
We also need to change the resolution of the render so it matches the texture resolution.
Go into the Output Properties and change the resolution to 4096x4096:

Finally, render with F12.
This operation shouldn't take too long and you should see a beautiful render with the right colors and no noise on it:

With the render window open and while hovering it, press ALT + S to save it.
Change the File Format to JPEG, lower the quality a little (75% should be enough) and name it baked.jpg:

Save it where you want. We are going to use it later in Three.js.
Exporting the model 02:08:04
We need to apply some modifications to the model in order to optimize it a bit more. But we are not going to do that now because we want to witness the issues when importing it into Three.js. This will help us understand better why we are doing these optimizations.
For now, let's simply export the whole scene.
Make all the collections selectable but not the others collection (even the emissions collection):

In Object Mode, select everything with A:

Now export as glTF 2.0:

Here are the exporting parameters:

Some more information:
- Check
Remember Export Settings, so you don't have to set those settings every time you want to export. - Use
.glbbecause it's lighter, though it won't make a huge difference. - Export only the
Selected Objects. We don't want to export the camera and the light. - Check
+Y Upbecause theYaxis is going up on Three.js. - In the geometry, we only need the
UVs. Remember that we just want to place the baked texture on it. - Activate the
Compression. We are going to use Draco. - Deactivate everything related to the
Animationbecause we have none.
Name your file portal.glb and put it with your baked.jpg file.
We now have both the baked.jpg file and the portal.glb files. In the next lesson, we are going to import them into Three.js as well as optimize the model a bit more.