🗓️ 20240428 1149
📎 #threejs #wip
textures
Images that will cover the surface of your geometries
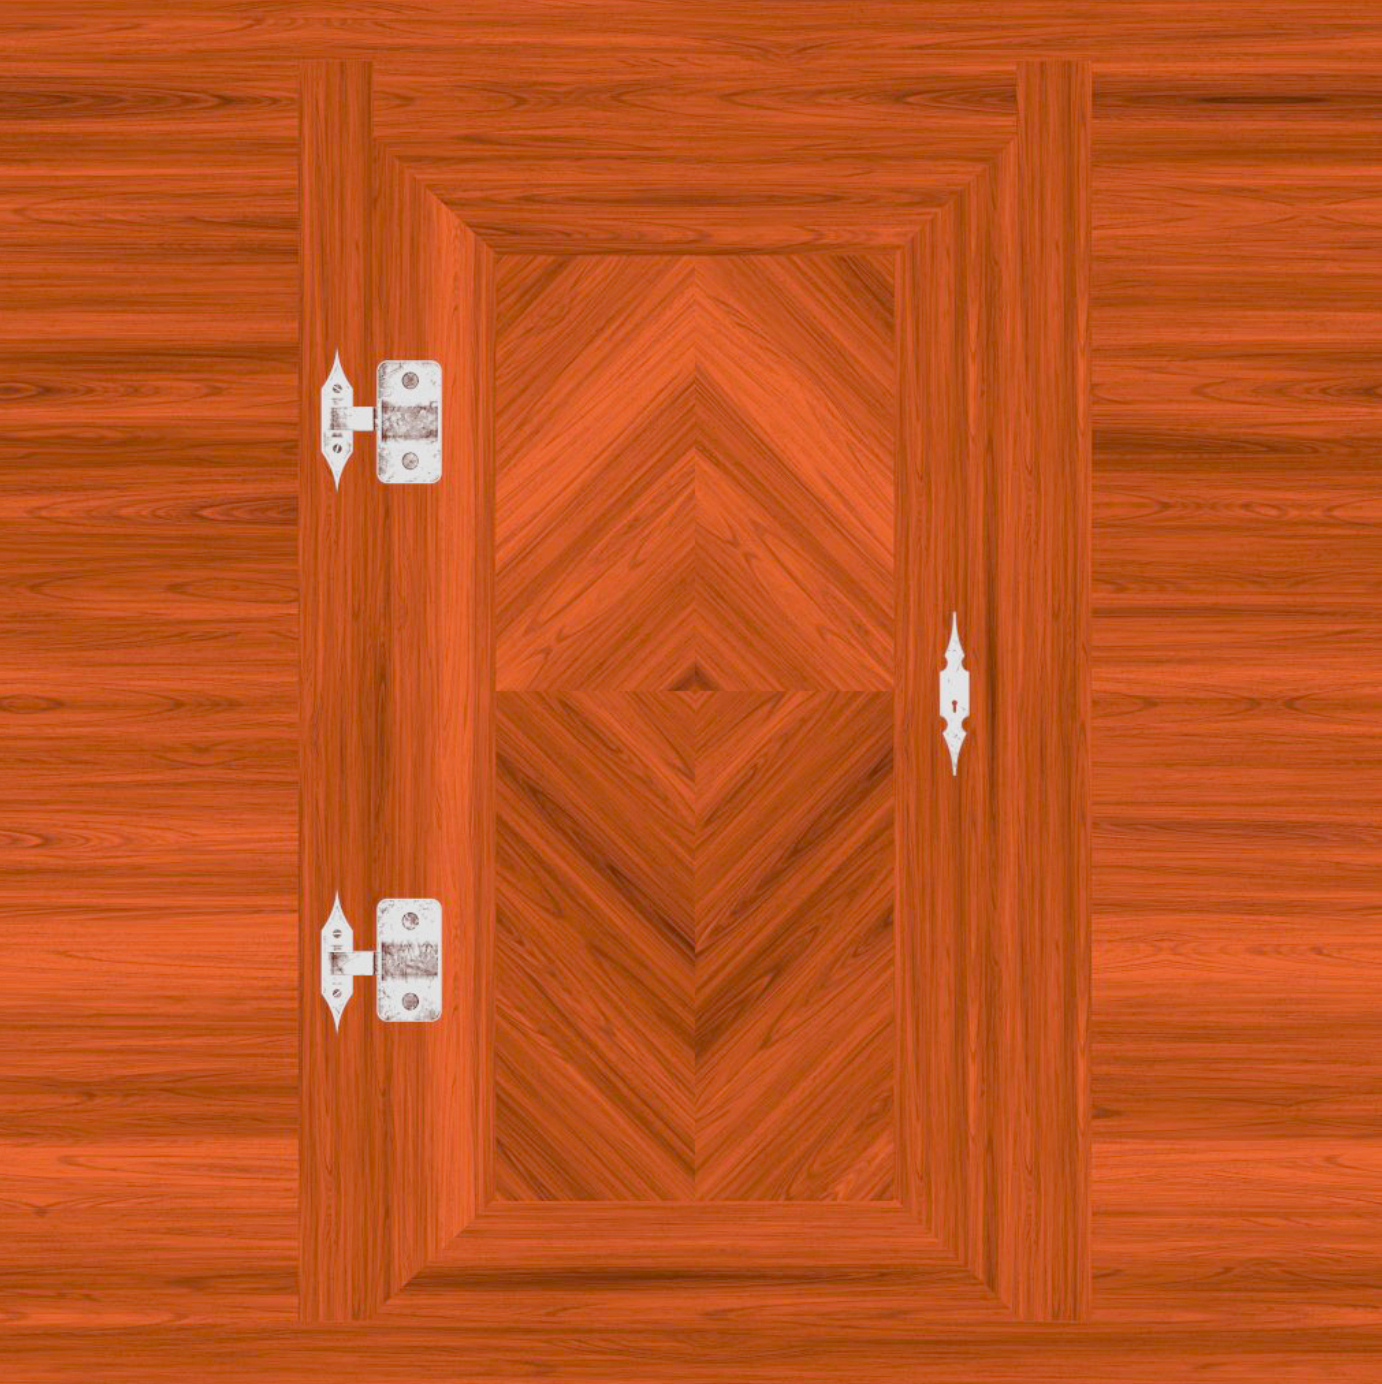
Color (or albedo) texture
- take the pixels of the texture and apply them to the geometry.
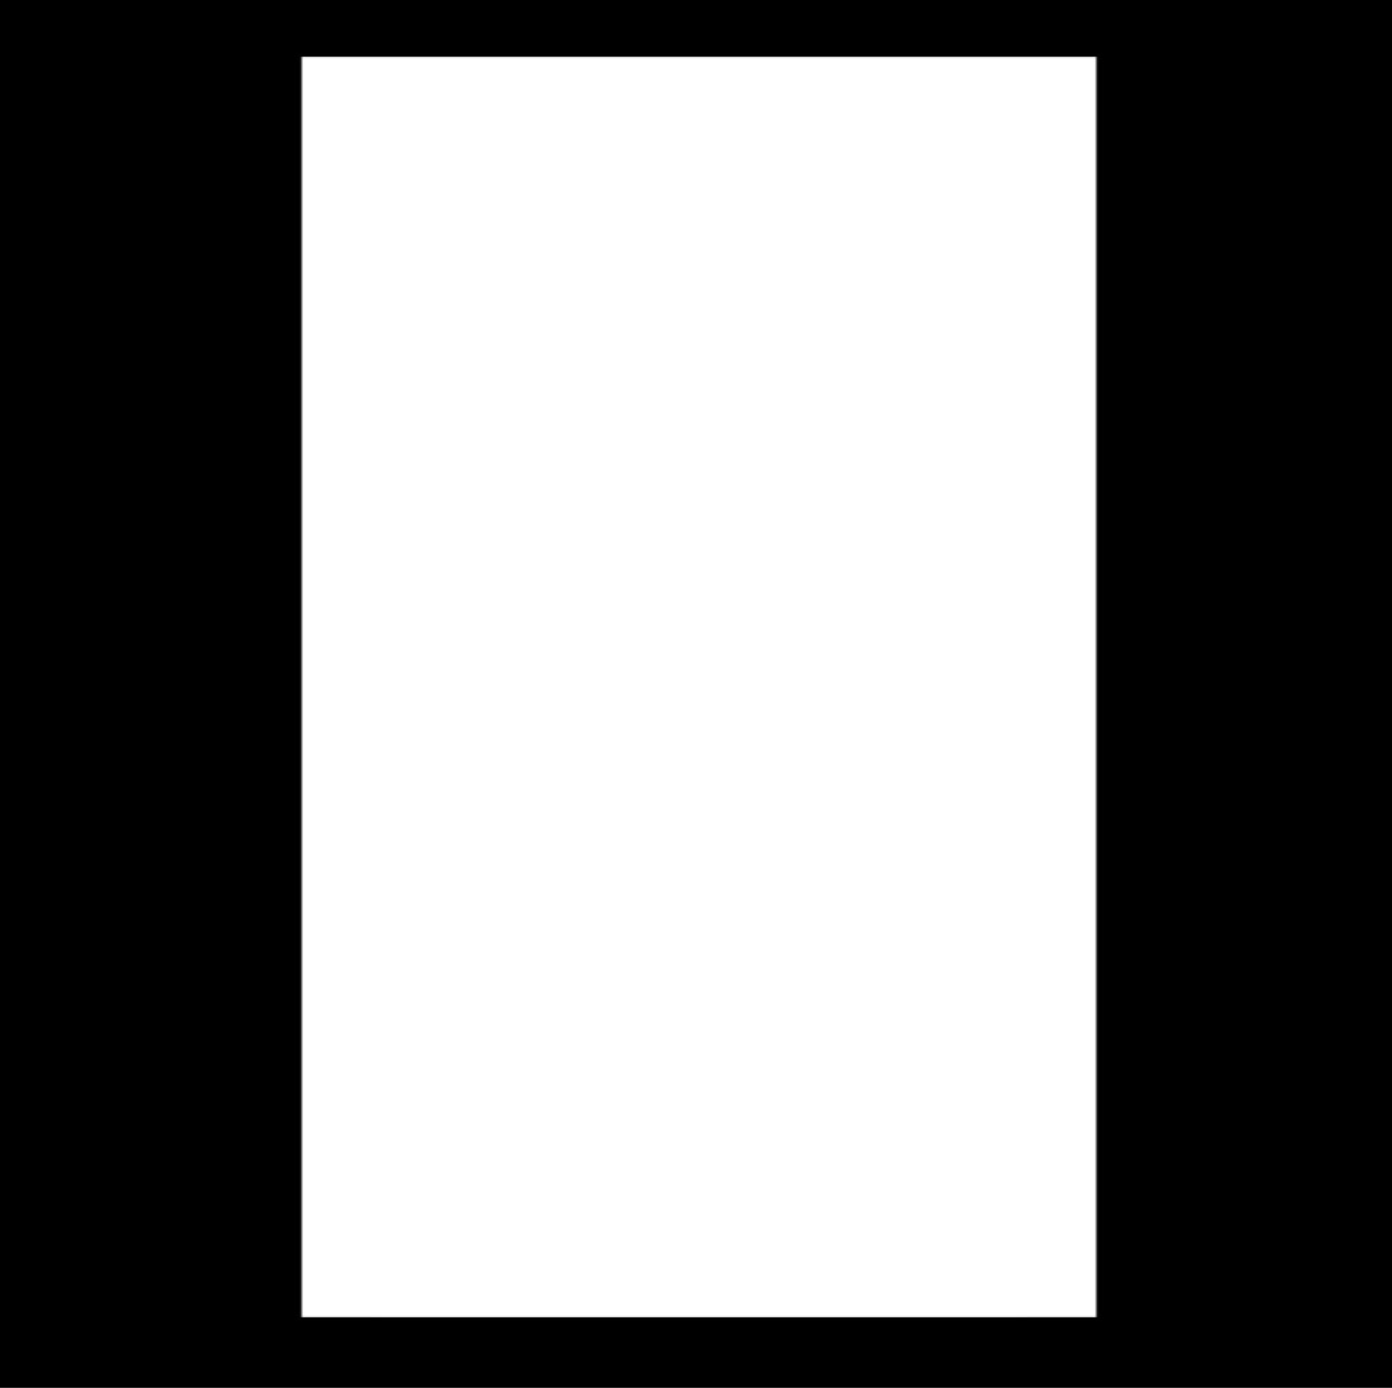
Alpha textures
- grayscale image
- white will be visible
- black invisible
Height texture
- grayscale image
- move the vertices to create some relief. You'll need to add subdivision if you want to see it.

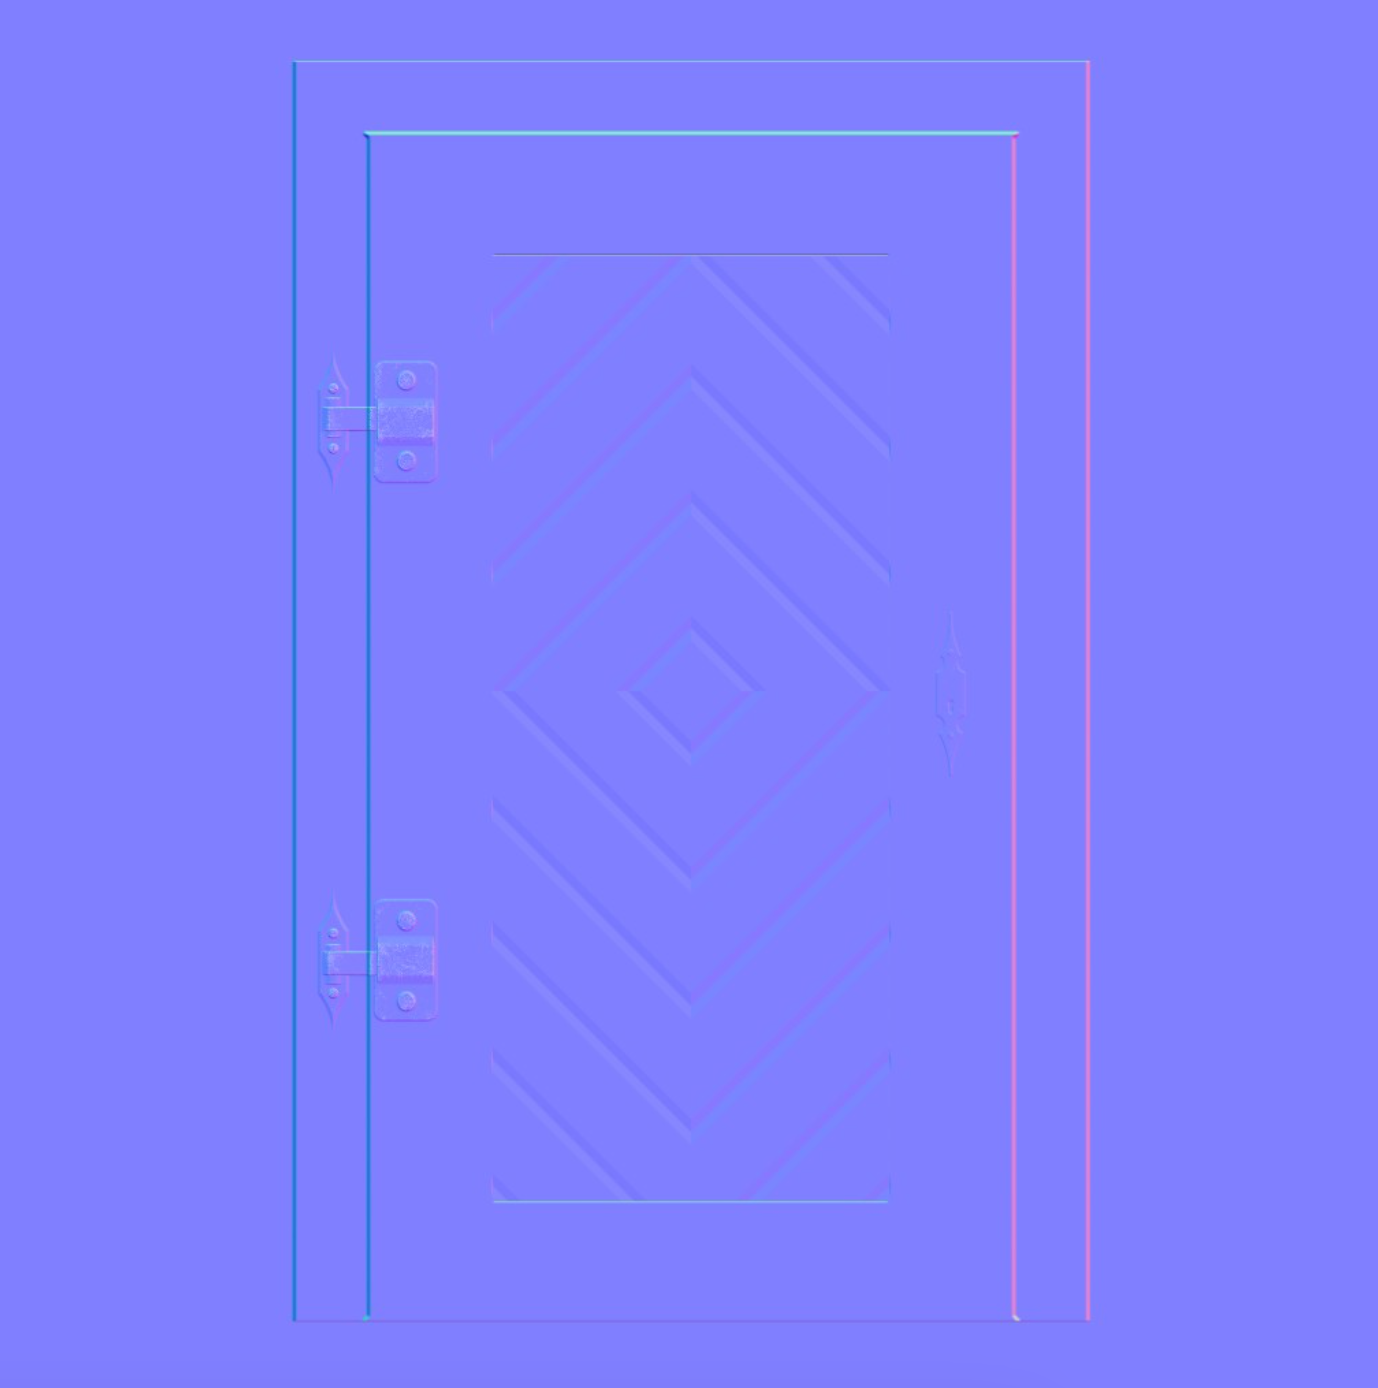
Normal
- Adds small details
- Lures the light into thinking that the face is oriented differently
- Useful because normal textures add details with good performance because you don't need to subdivide the geometry.
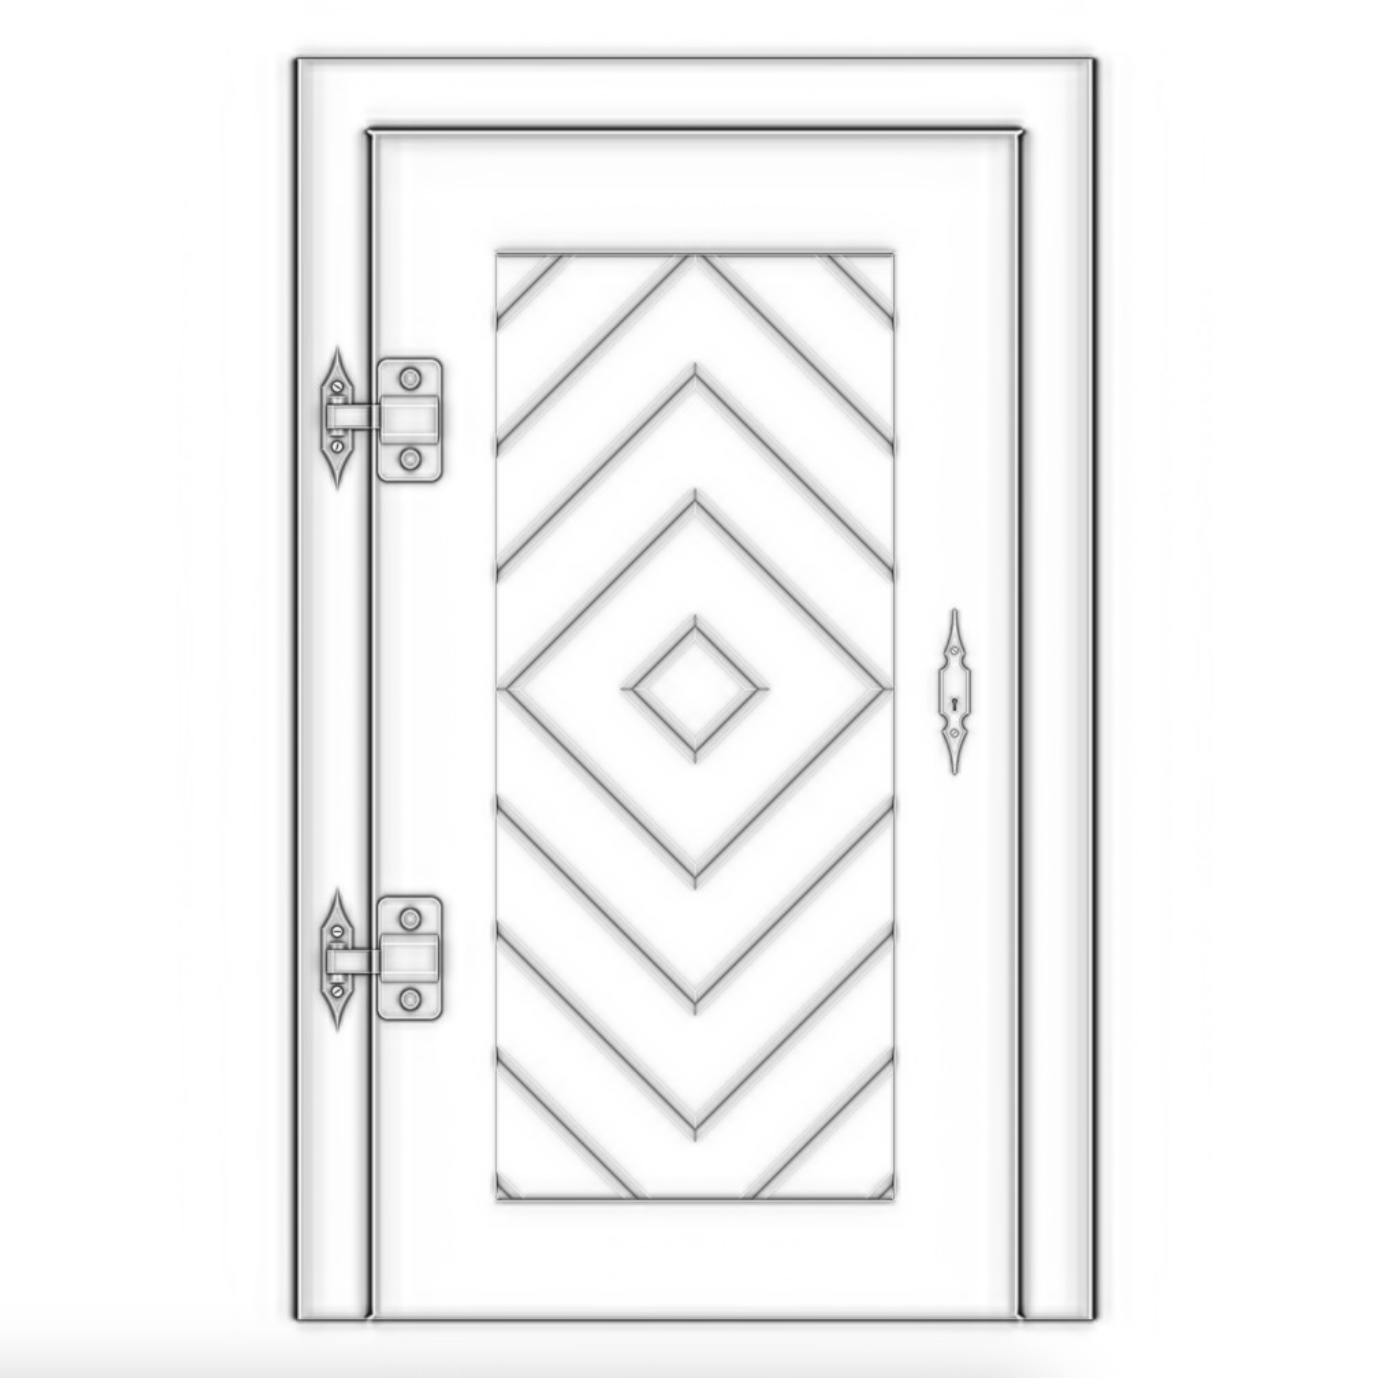
Ambient occlusion texture
- grayscale image that will fake shadow in the surface's crevices
- Not physically accurate
- helps to create contrast
Metalness
- grayscale image
- specify which part is metallic (white)
- non-metallic (black)
- Information used to create reflection
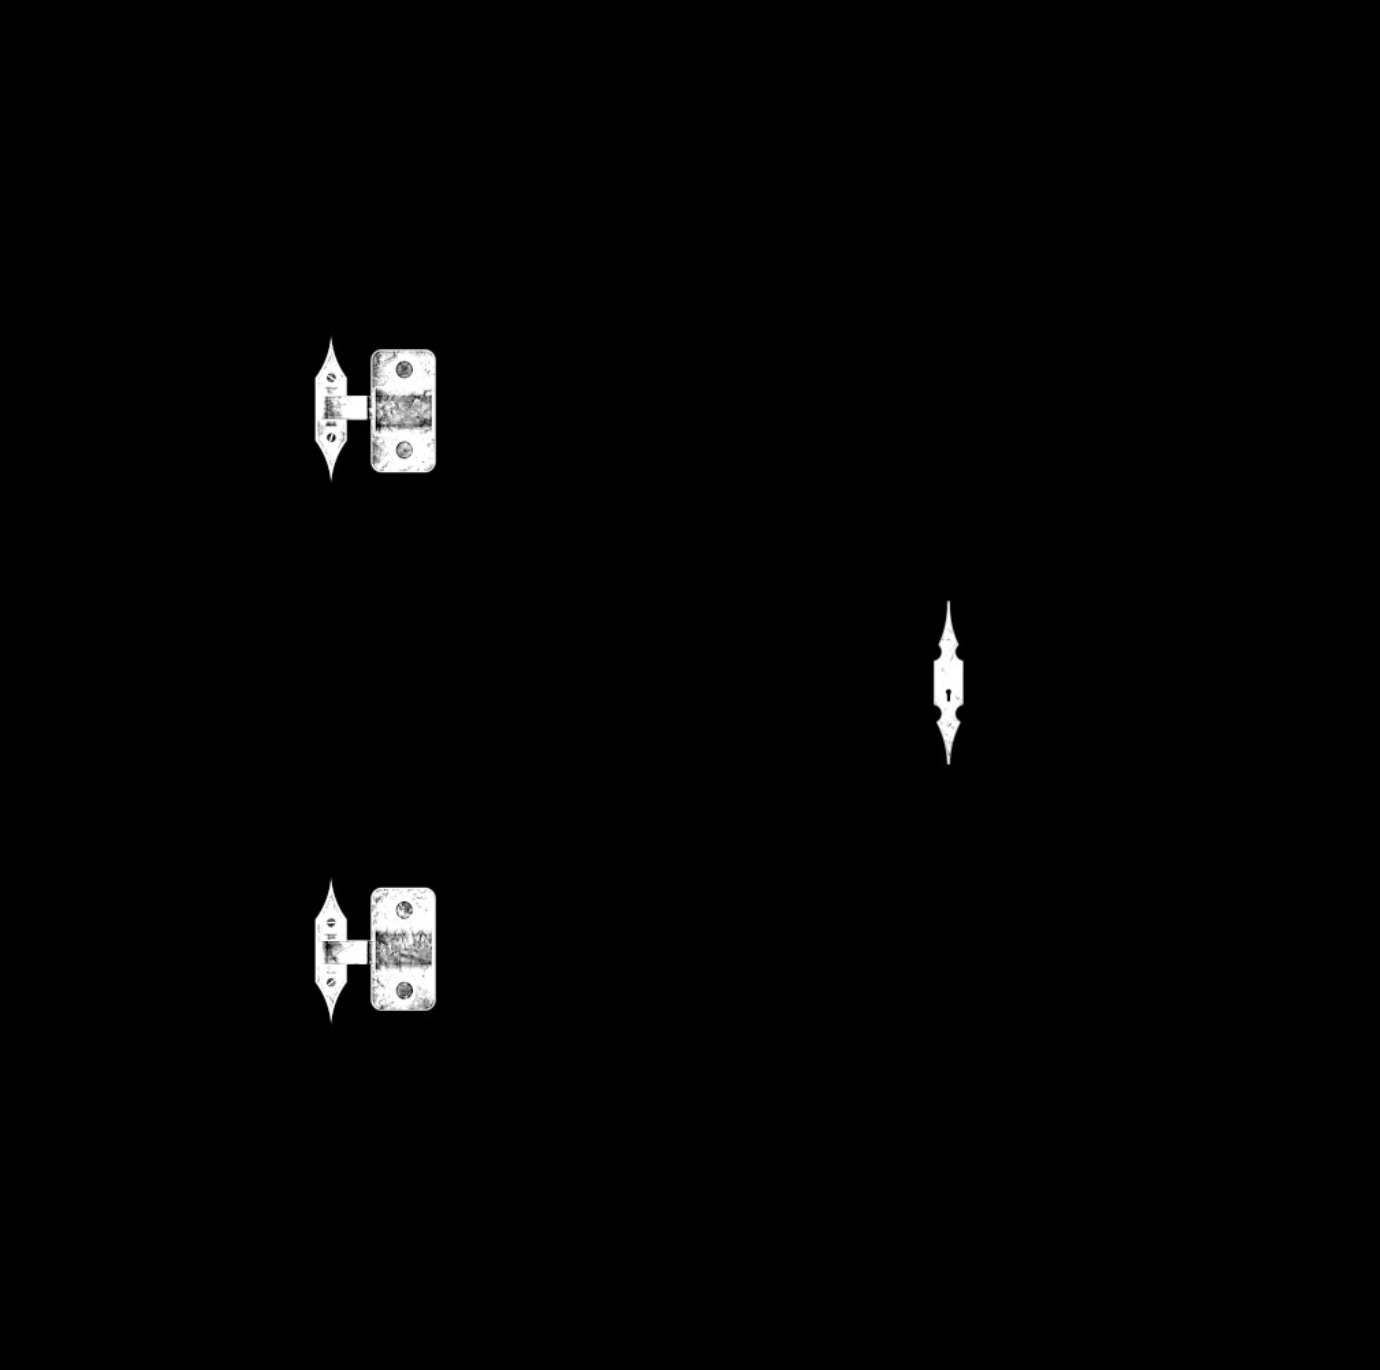
Roughness
- grayscale image
- comes with metalness
- specify which part is rough (white)
- which part is smooth (black)
- This information will help to dissipate the light
? Difference from metal need
A carpet is very rugged, and you won't see the light reflection on it, while the water's surface is very smooth, and you can see the light reflecting on it. Here, the wood is uniform because there is a clear coat on it.

Physically Based Rendering
-
Those textures follow what we call PBR principles
-
It regroups many techniques that tend to follow real-life directions to get realistic results
-
kinda the standard for realistic renders
-
https://marmoset.co/posts/basic-theory-of-physically-based-rendering/
-
https://marmoset.co/posts/physically-based-rendering-and-you-can-too/
const image = new Image();
const texture = new THREE.Texture(image);

// Depends on the encoding of the image (this is encoded in sRGB)
texture.colorSpace = THREE.SRGBColorSpace;

image.addEventListener("load", () => {
  texture.needsUpdate = true;
});
image.src = "/textures/door/color.jpg";

const material = new THREE.MeshBasicMaterial({ map: texture });
- Loading image and using threeJS’s Texture (converts image to a format GPU can process for WebGL)
- can use image immediately
- Image will be transparent until loaded
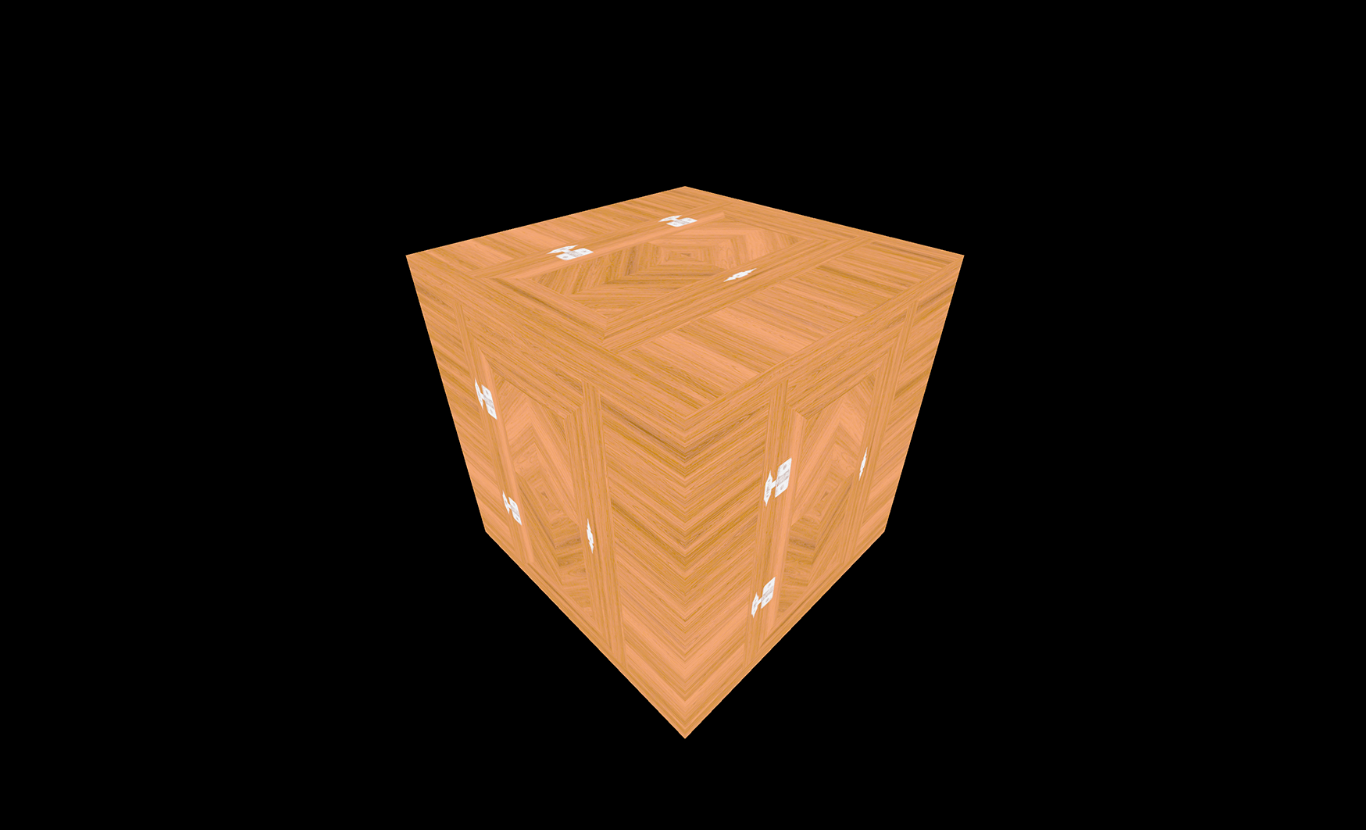
Without specifying the image's color encoding
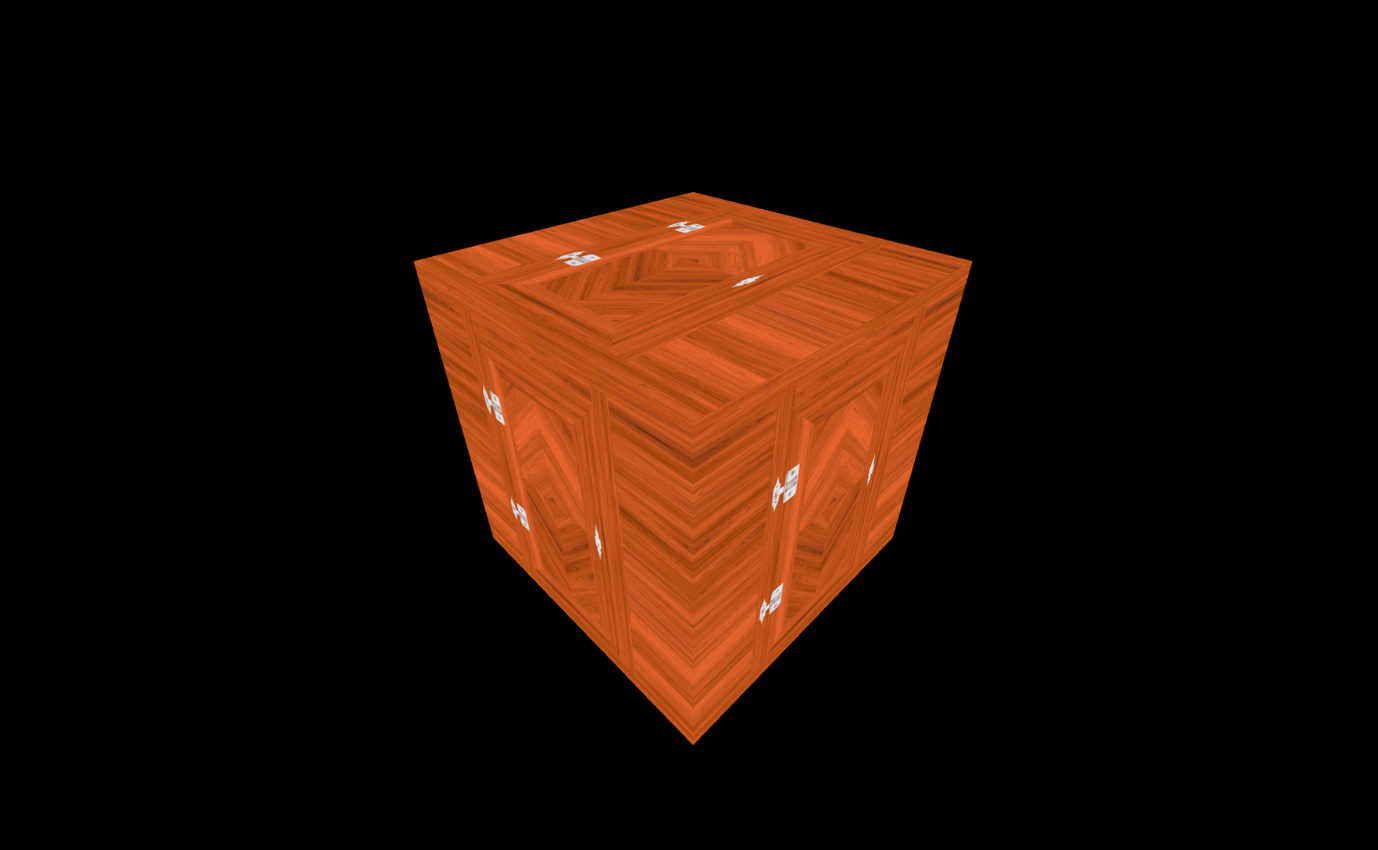
With the image's color encoding specified
loadwhen the image loaded successfullyprogresswhen the loading is progressingerrorif something went wrong
const textureLoader = new THREE.TextureLoader();
const texture = textureLoader.load(
  "/textures/door/color.jpg",
  () => {
    console.log("loading finished");
  },
  () => {
    console.log("loading progressing");
  },
  () => {
    console.log("loading error");
  }
);
texture.colorSpace = THREE.SRGBColorSpace;
Using the LoadingManager
For mutualising (?) events for multiple images being loaded
e.g.
- being notified when all images are loaded
- showing a loader / hiding the loader when assets are loaded
const loadingManager = new THREE.LoadingManager();
const textureLoader = new THREE.TextureLoader(loadingManager);
const loadingManager = new THREE.LoadingManager();
loadingManager.onStart = () => {
  console.log("loading started");
};
loadingManager.onLoad = () => {
  console.log("loading finished");
};
loadingManager.onProgress = () => {
  console.log("loading progressing");
};
loadingManager.onError = () => {
  console.log("loading error");
};

const colorTexture = textureLoader.load("/textures/door/color.jpg");
colorTexture.colorSpace = THREE.SRGBColorSpace;
const alphaTexture = textureLoader.load("/textures/door/alpha.jpg");
const heightTexture = textureLoader.load("/textures/door/height.jpg");
const normalTexture = textureLoader.load("/textures/door/normal.jpg");
const ambientOcclusionTexture = textureLoader.load(
  "/textures/door/ambientOcclusion.jpg"
);
const metalnessTexture = textureLoader.load("/textures/door/metalness.jpg");
const roughnessTexture = textureLoader.load("/textures/door/roughness.jpg");
UV unwrapping
Process of projecting a 3D model's surface onto a 2D plane ot create a uv map
NOTE If the UV map is not well laid out, the texture might appear stretched or squished
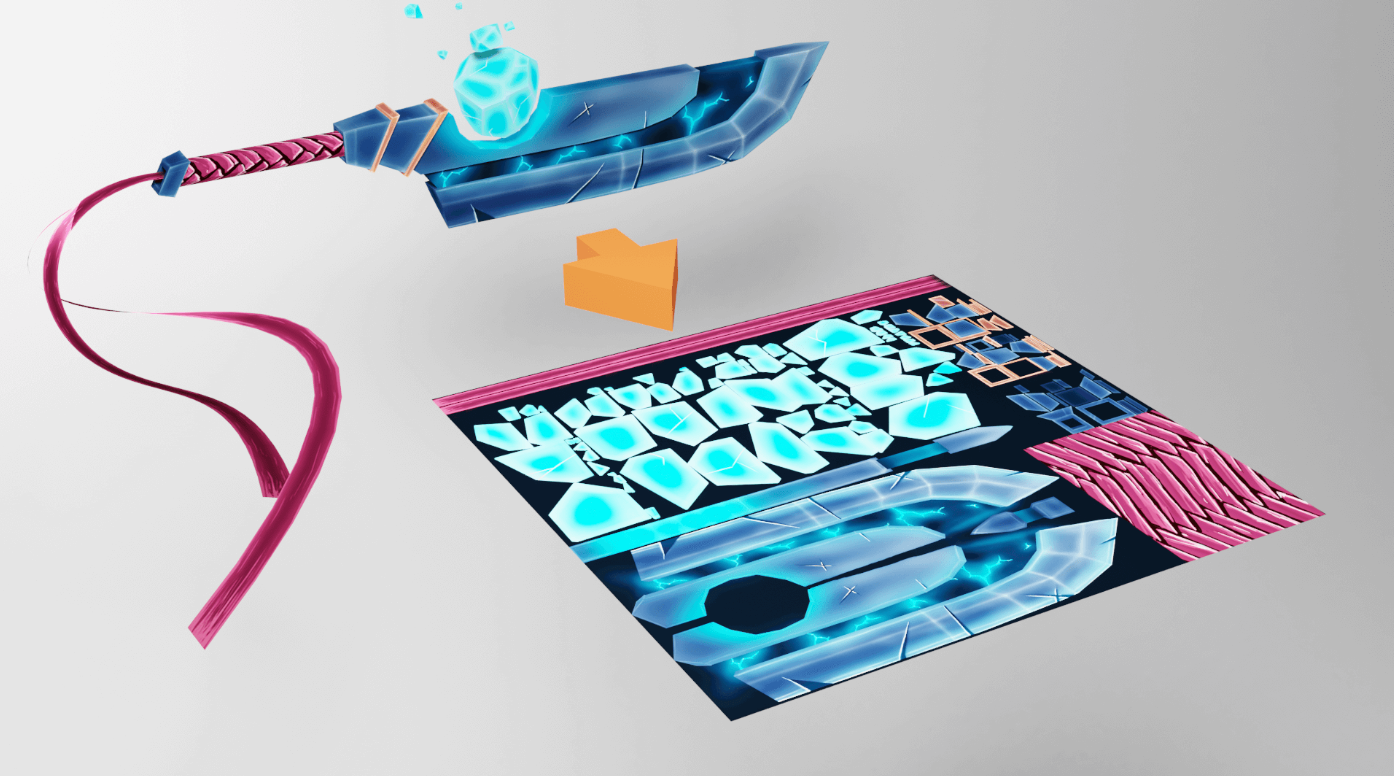
UV Coordinates
- For primitive geometries
- UV coordinates automatically generated
- For custom geometries:
- Need to specify UV coordinates
- Have to do UV unwrapping of geometry
console.log(geometry.attributes.uv);
contains UV 2D coordinates
Texture transformations
-
Texture transformations in threeJS can be used to adjust the display of the texture without altering the UV map itself
-
Useful for things like tiled textures on floors or walls.
-
However, if you want a texture to fit precisely to a certain area of a model, you would need to adjust the UV map in a 3D modeling tool (like Blender) to correspond to the desired areas of the texture.
Repeat
const colorTexture = textureLoader.load("/textures/door/color.jpg");
colorTexture.colorSpace = THREE.SRGBColorSpace;
colorTexture.repeat.x = 2;
colorTexture.repeat.y = 3;
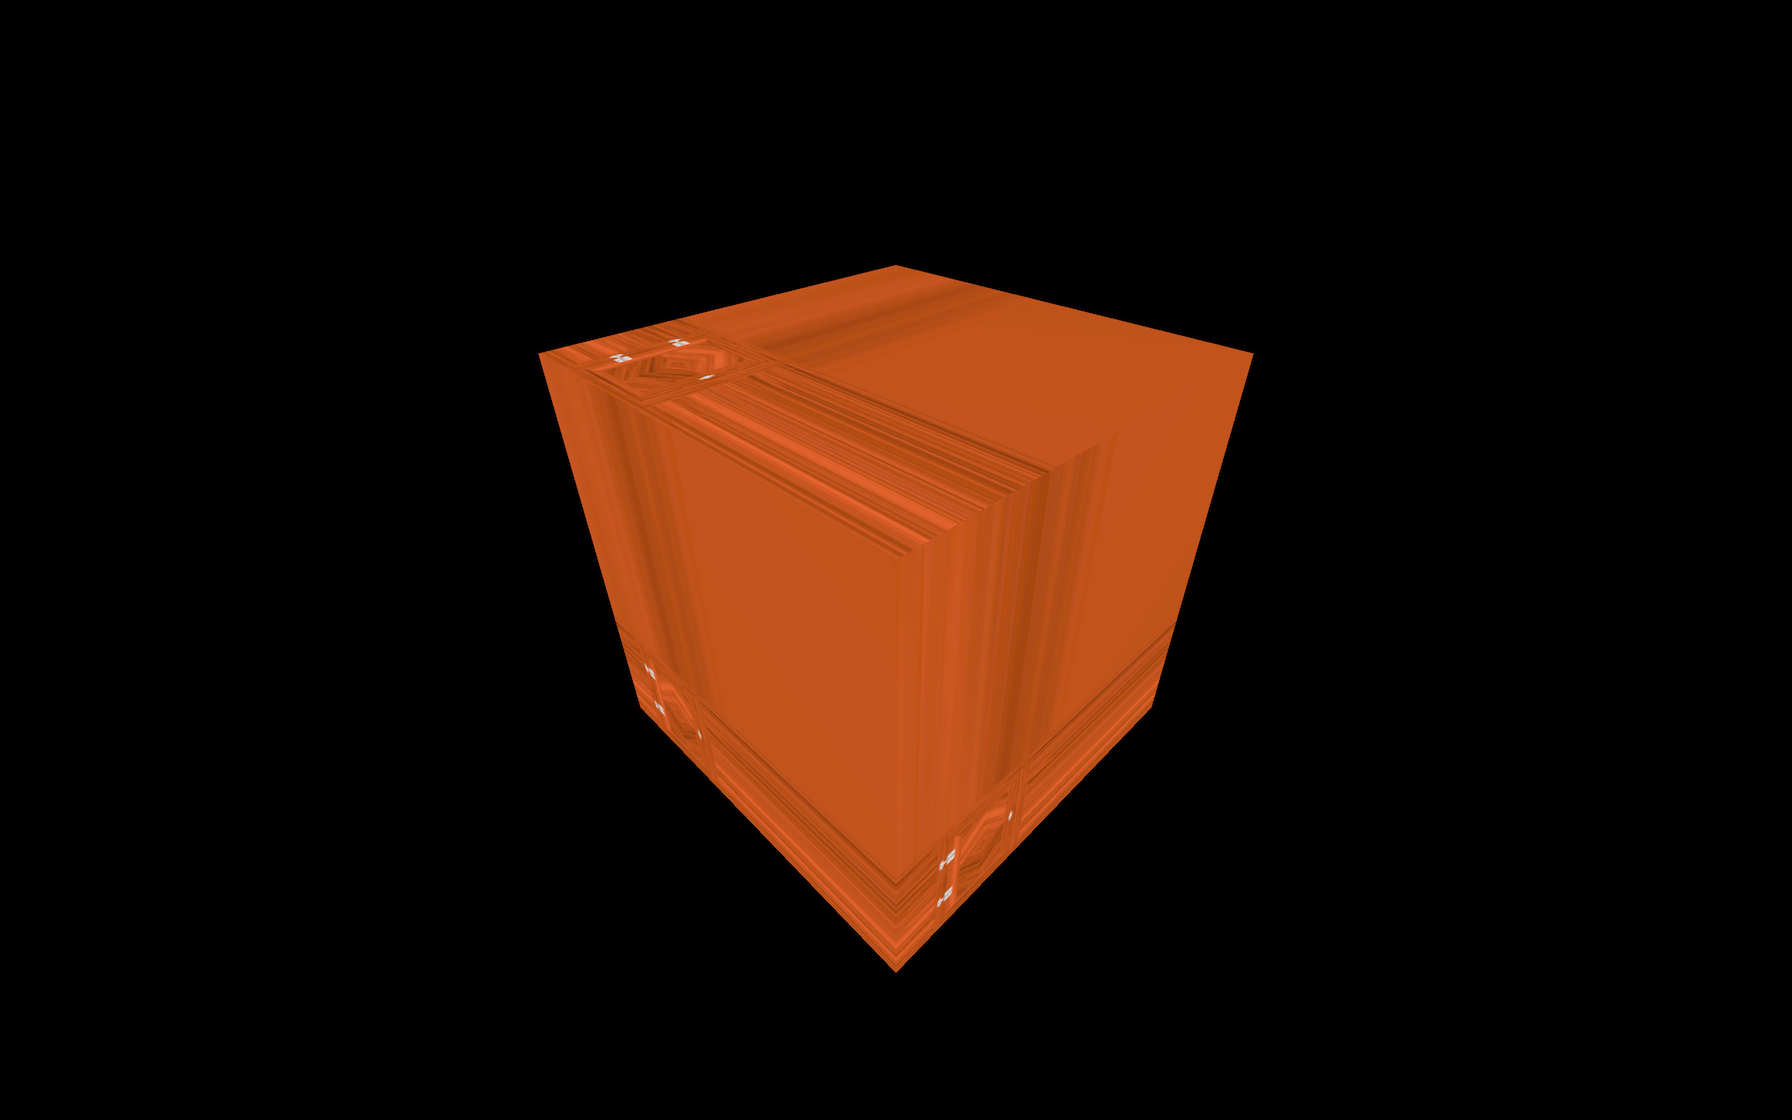
Without
wrapSandwrapT(last pixel stretched)
colorTexture.wrapS = THREE.RepeatWrapping;
colorTexture.wrapT = THREE.RepeatWrapping;
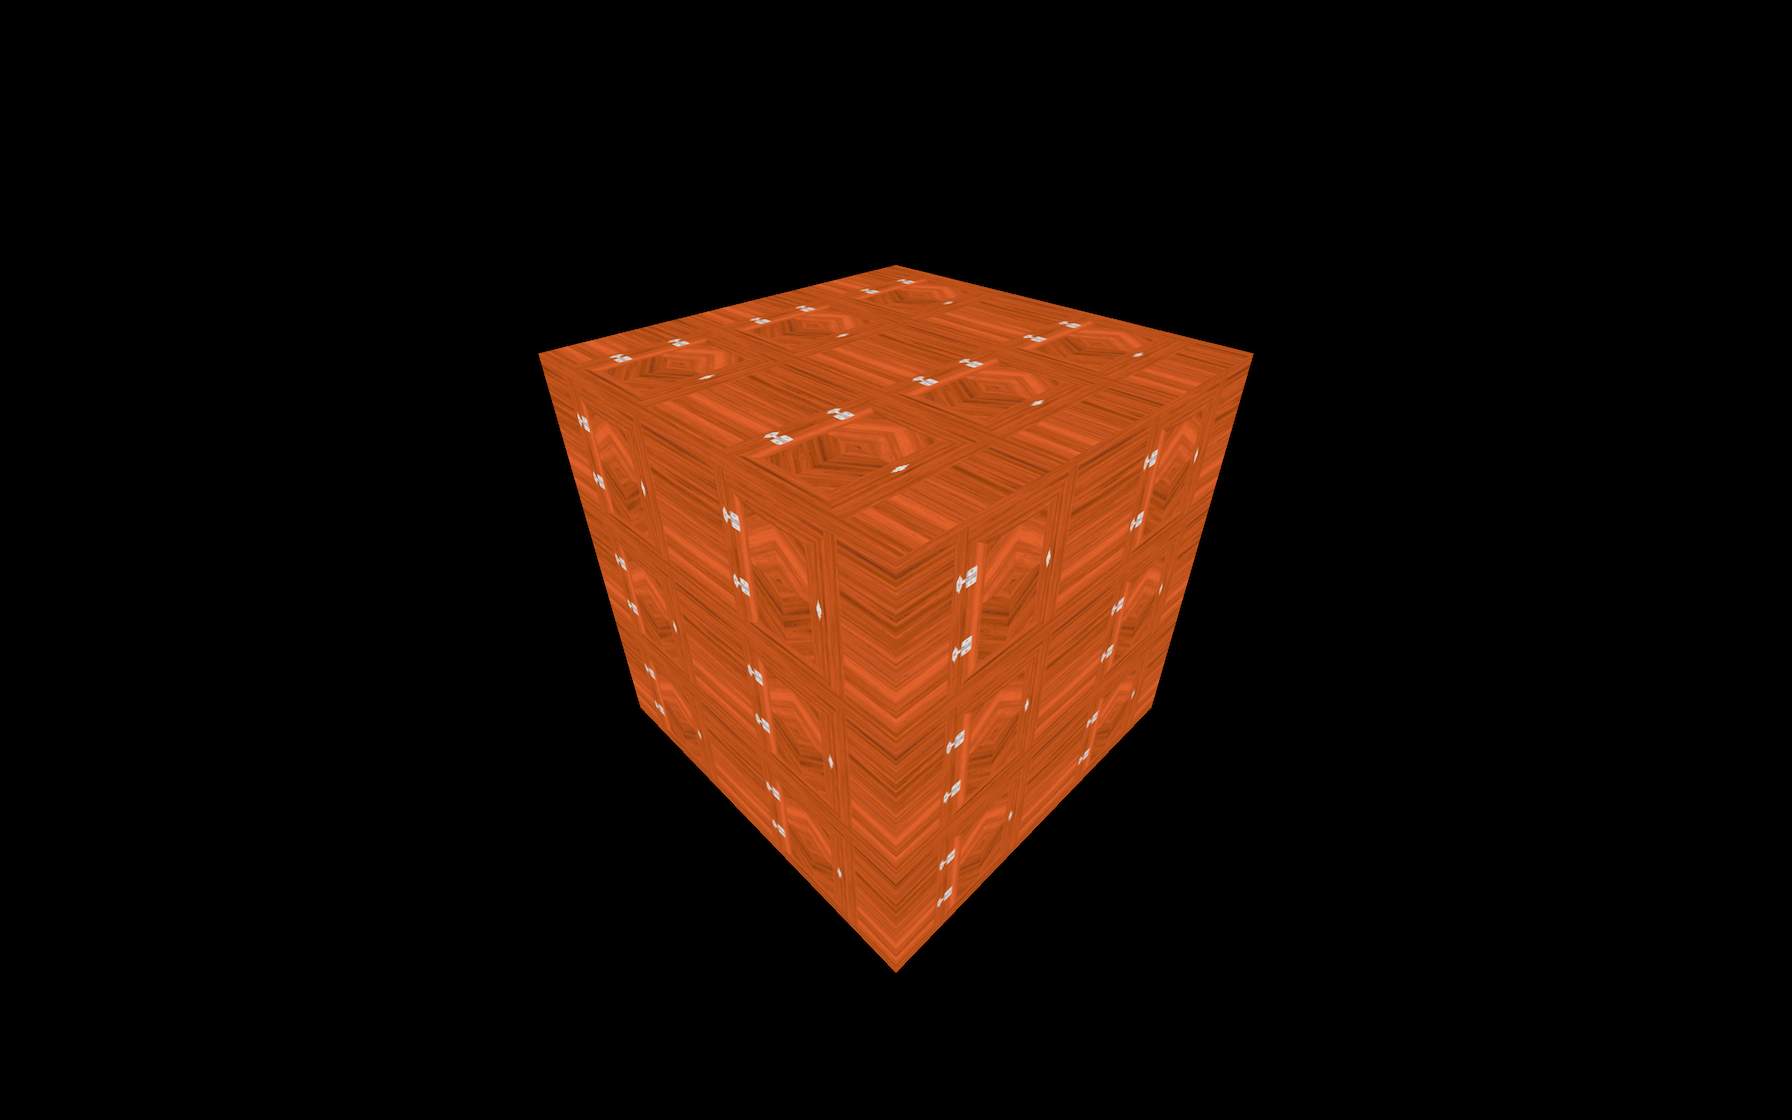
// Alternating the direction
colorTexture.wrapS = THREE.MirroredRepeatWrapping;
colorTexture.wrapT = THREE.MirroredRepeatWrapping;
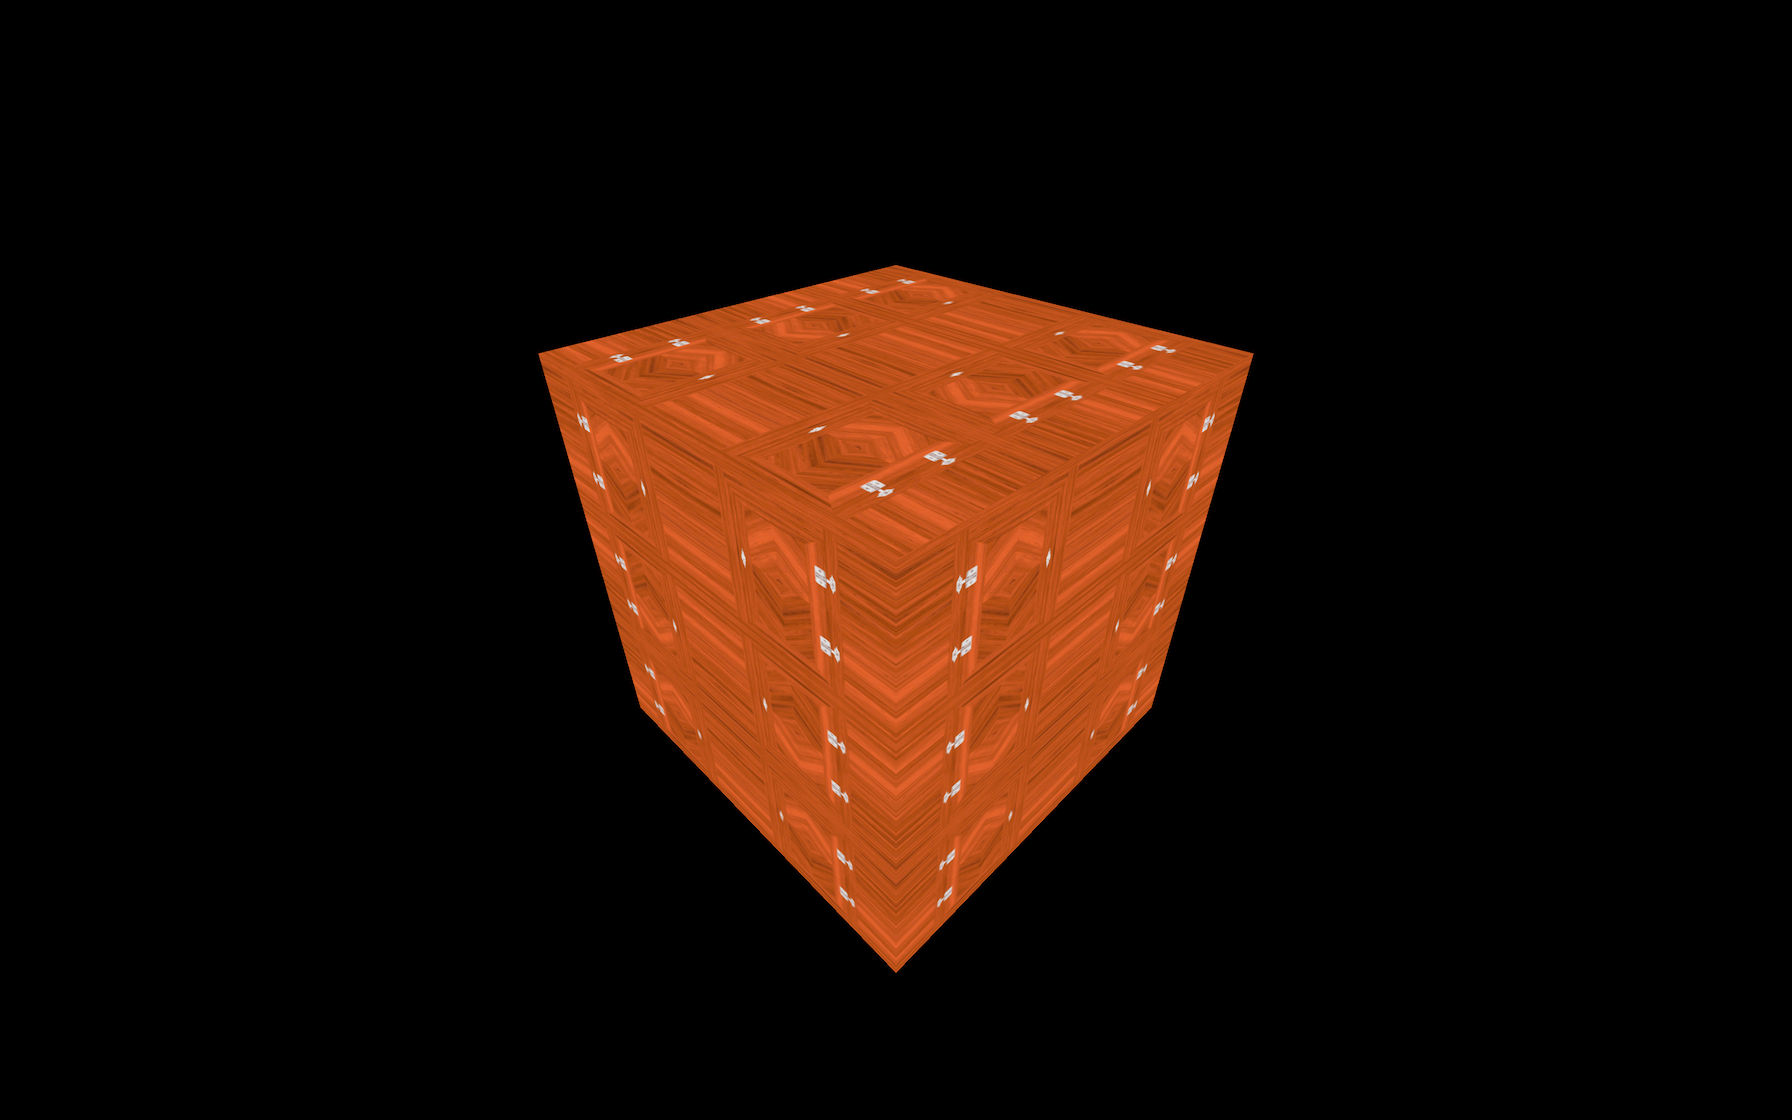
Offset
offsetis a Vector2- how much a single repetition is offset from the beggining
colorTexture.offset.x = 0.5;
colorTexture.offset.y = 0.5;

Rotation
colorTexture.rotation = Math.PI * 0.25;
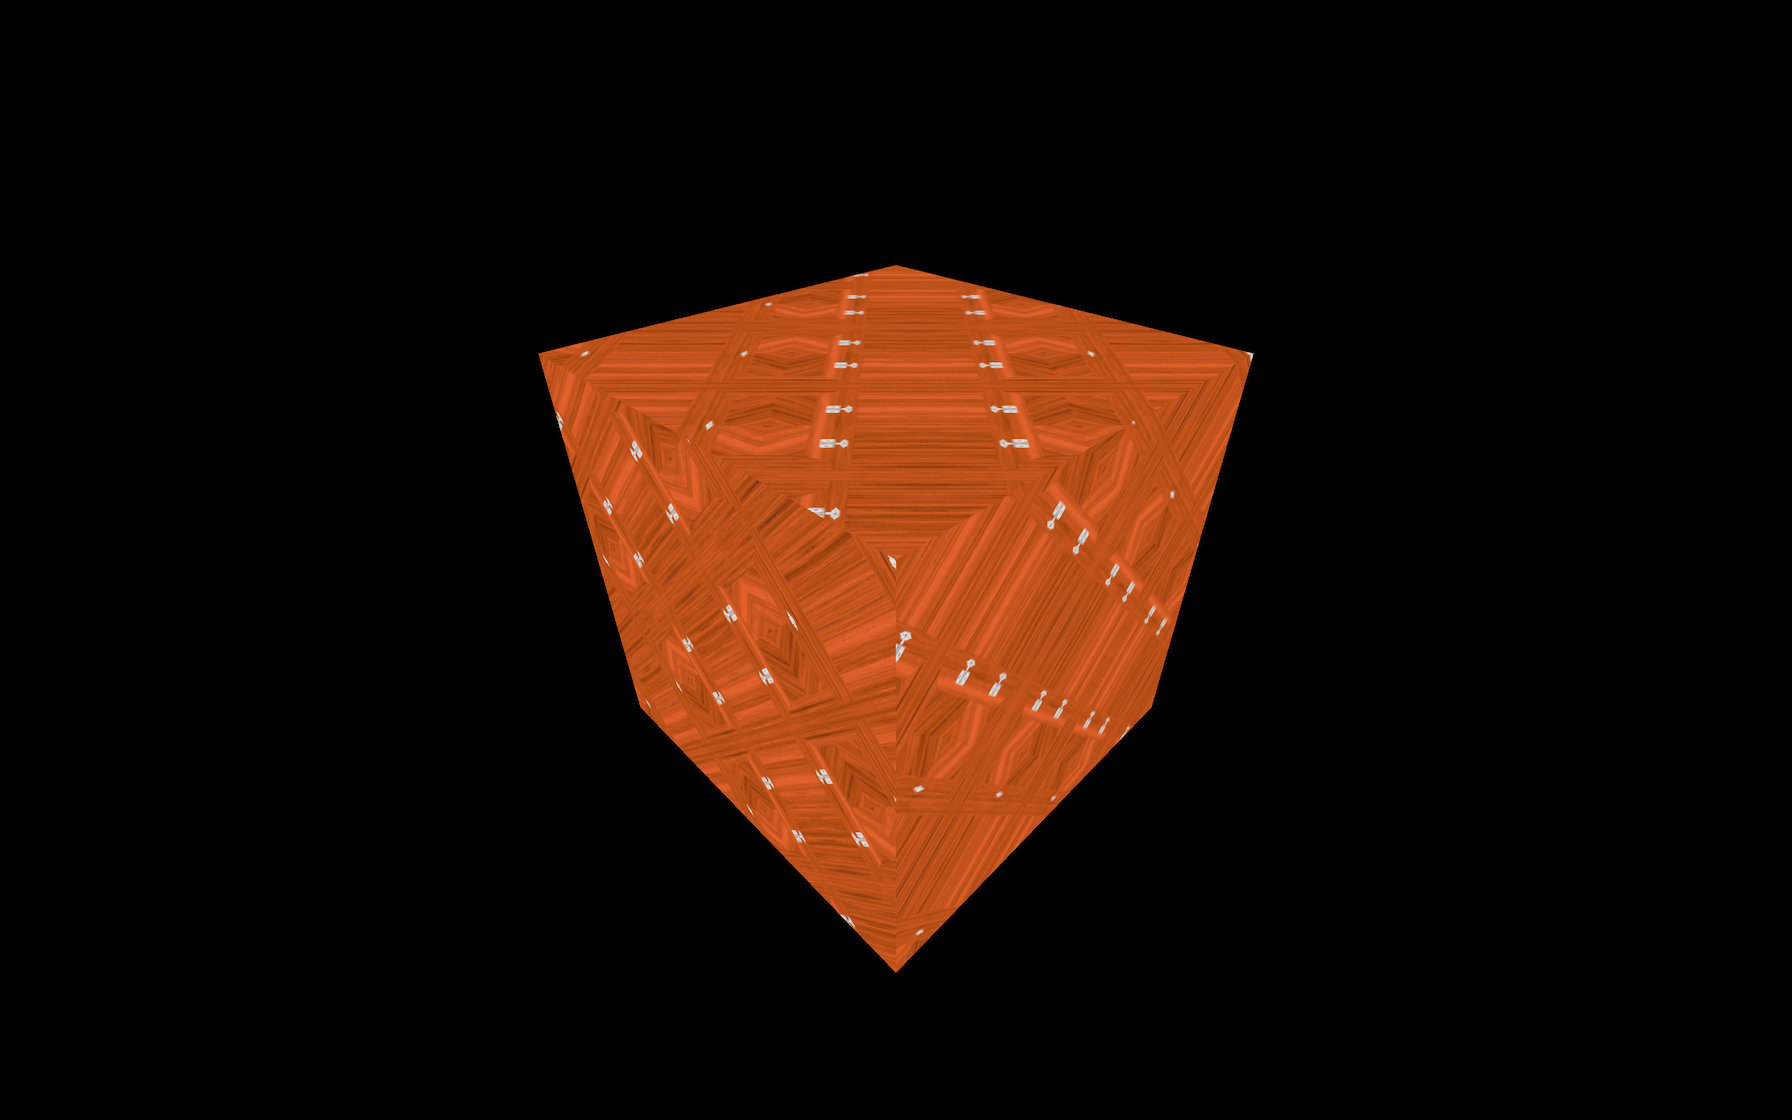
If you remove the offset and repeat properties, you'll see that the rotation occurs around the bottom left corner of the cube's faces:

When
offsetandrepeatremoved, rotation occurs at bottom left of cube faces (center of geometry)
colorTexture.rotation = Math.PI * 0.25;
colorTexture.center.x = 0.5;
colorTexture.center.y = 0.5;
The texture will now rotate on its center.

Filtering and Mipmapping
Cube's top face is blurry when the face is almsot hidden
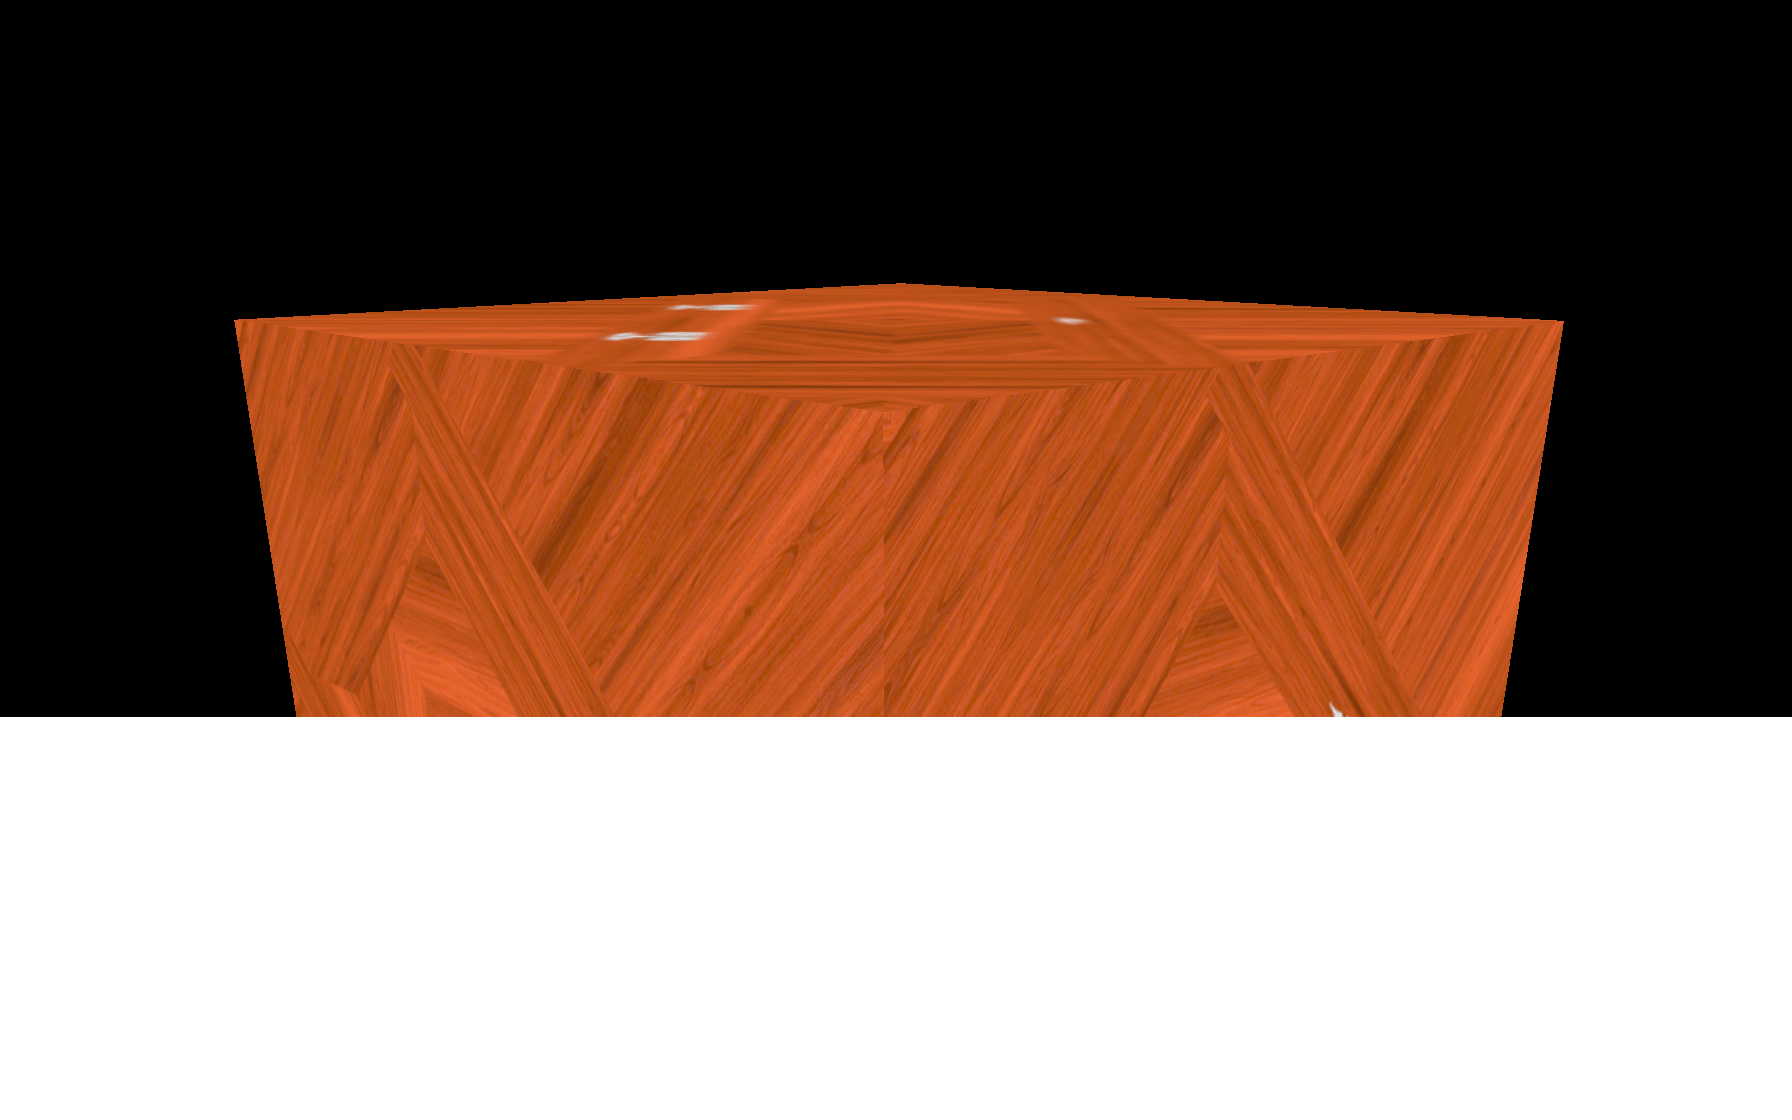 That is due to the filtering and the mipmapping.
- Mipmapping - technique that consists of creating half a smaller version of a texture repeatedly until 1x1 texture
- All texture variations are sent to the GPU
- GPU will choose the most appropriate version of the texture.
3js / GPU handles this, just need to set filter algorithm (?)
Minification filter
-
Texture filtering that happens when pixels of texture < pixels of the render
-
In other words, the texture is too big for the surface, it covers
-
Minification filter algorithm
- controls how the texture is sampled
- how the final pixel color is calculated
- in-built algorithms
THREE.NearestFilterTHREE.LinearFilterTHREE.NearestMipmapNearestFilterTHREE.NearestMipmapLinearFilterTHREE.LinearMipmapNearestFilterTHREE.LinearMipmapLinearFilter
// For changing filter algorithm
colorTexture.minFilter = THREE.NearestFilter;

const colorTexture = textureLoader.load("/textures/checkerboard-1024x1024.png");
Mitigate moiré patterns by specifying appropriate algorithms
Magnification filter
- Texture filtering that happens when pixels of texture > pixels of the render
- Change using
magFilterproperty - Possible values
THREE.NearestFilter(default)- Cheaper
THREE.LinearFilter
The default is THREE.LinearFilter.
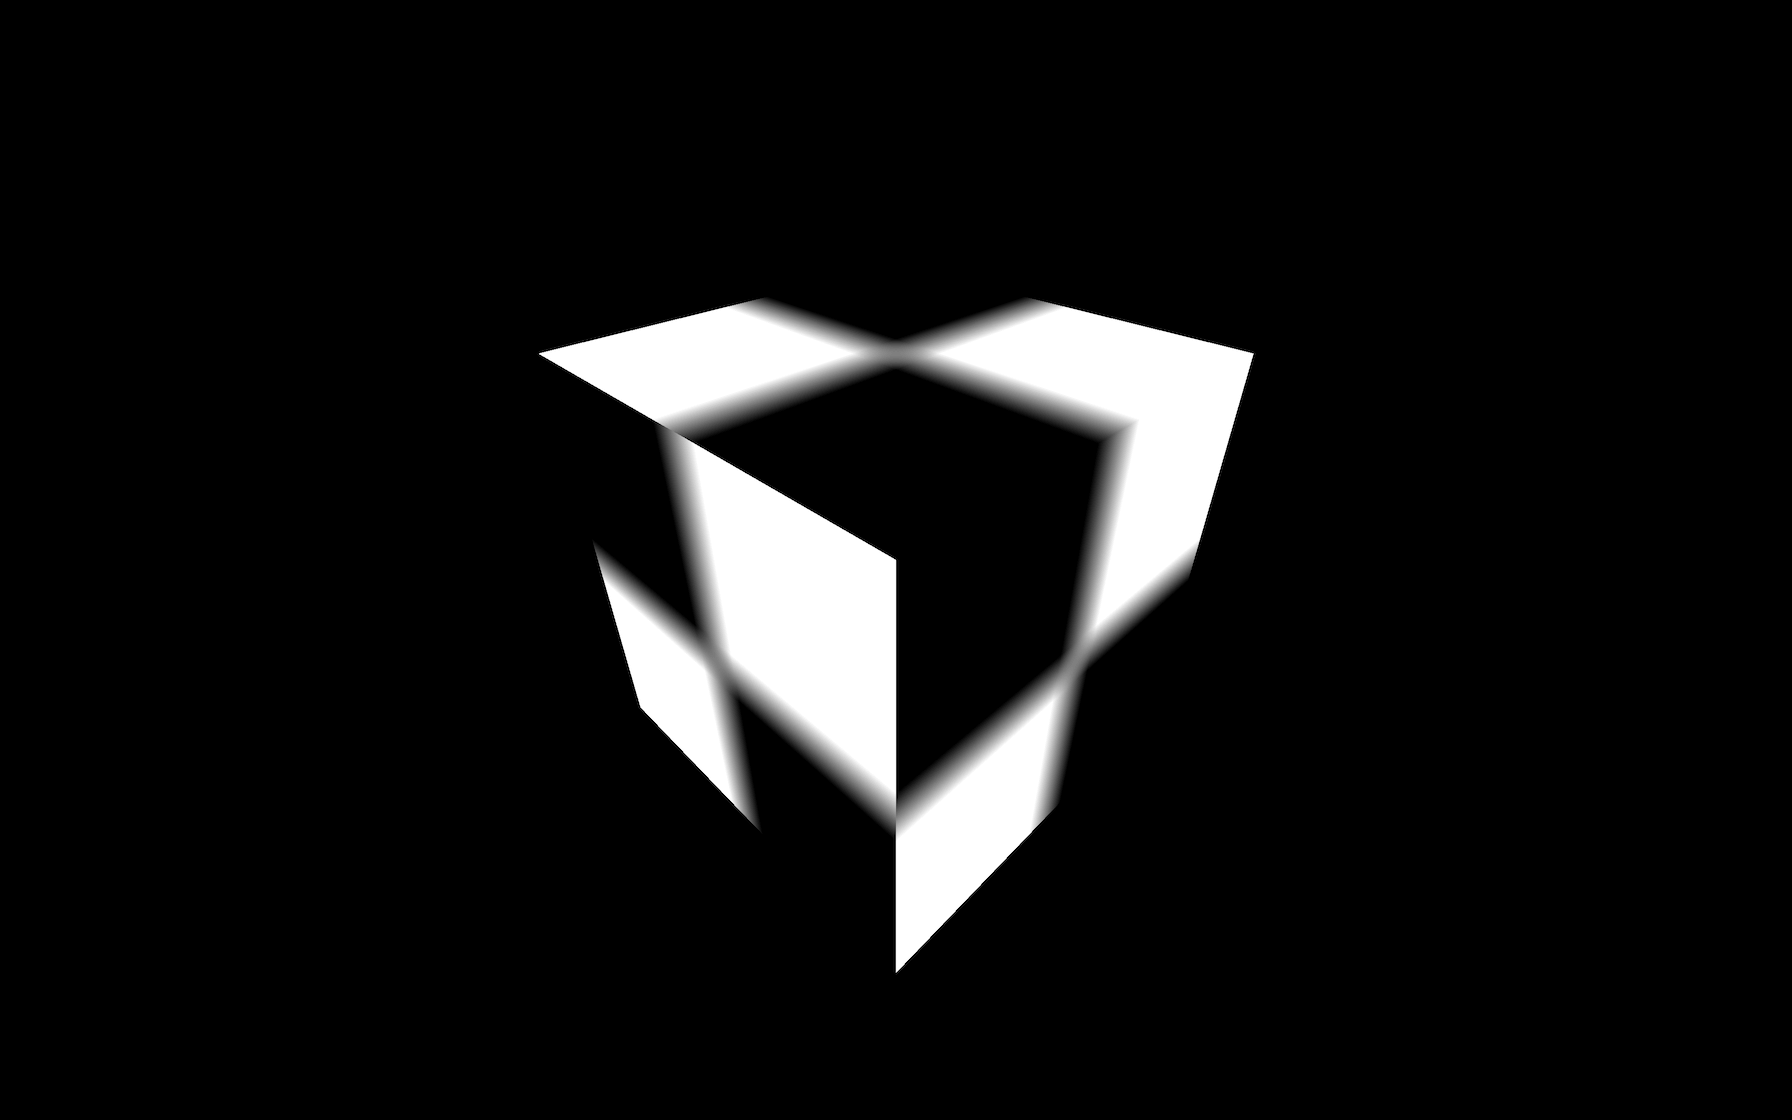
Texture gets blurry because it's composed of a very small texture on a very large surface.
Only use the mipmaps for the minFilter property. If you are using the THREE.NearestFilter, you don't need the mipmaps, and you can deactivate them with colorTexture.generateMipmaps = false:
Texture format and optimisation
Elements to keep in mind when preparing textures
The weight
Important because textures have to be downloaded
.jpg()- lossy compression
- usually lighter
.png()- lossless compression
- usually heavier
- Try to apply the usual methods to get an acceptable image but as light as possible
- Use compression websites like TinyPNG (also works with jpg) or any software.
The size
- Each pixel of the textures you are using will have to be stored on the GPU regardless of the image's weight
- GPU has storage limitations
- Automatically generated mipmapping increases the number of pixels that have to be stored
-
Texture width and height must be a power of 2
-
That is mandatory so that Three.js can divide the size of the texture by 2
The data
jpgfiles don't have an alpha channel- can use alpha map
If you are using a normal texture (the purple one), you will probably want to have the exact values for each pixel's red, green, and blue channels, or you might end up with visual glitches. For that, you'll need to use a png because its lossless compression will preserve the values.
Where to find textures
- Sources
- Create your own
- PhotoShop
- Substance Designer
Always make sure that you have the right to use the texture if it's not for personal usage.